Last updated: 2026/6/4
Use X (Twitter) conveniently with SocialDog's browser extension.
The SocialDog browser extension allows you to schedule posts and reposts directly from the X (formerly Twitter) interface.
System Requirements
- Supported Browsers
- Google Chrome
- Supported Social Networks
- X (formerly Twitter) only
Installing the Extension
- Open the SocialDog Extension - Chrome Web Store.
- Click the [Add to Chrome] button to install the extension.
Scheduling a Post from X (formerly Twitter) using SocialDog
- Open the Home page of X (formerly Twitter).
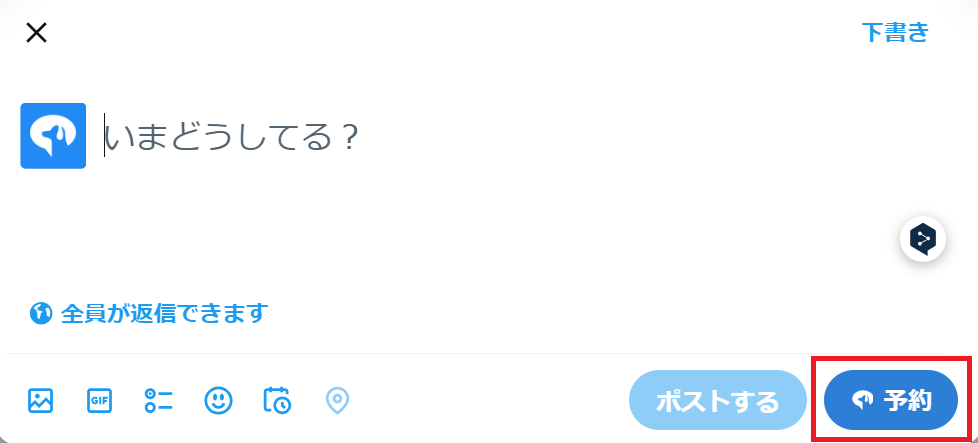
- A [Post with SocialDog] button will appear in the post composition box.
- After entering your text, click the [Post with SocialDog] button to schedule the post directly with SocialDog.
- Information other than text (e.g., images, videos) must be added from the SocialDog post creation screen.
Scheduling Replies and Reposts from X (formerly Twitter)
You can schedule replies, reposts, or quote posts for any X post.
- On X (formerly Twitter), open the post for which you want to schedule a reply, repost, or quote post.
- Click the button below the post.
- To schedule a reply:
- Click the [SocialDog icon] below the post.
- To schedule a repost or quote post:
- Click the repost icon, then click the [Repost with SocialDog] button.
- To schedule a reply:
For more details on scheduled replies, see Scheduling a Reply. For more details on scheduled reposts, see Scheduling a Repost.
Scheduling a Link from the Current Web Page with SocialDog
You can easily schedule a post for any web page with SocialDog.
- Right-click on any web page and select [Share page with SocialDog].
- The SocialDog post creation screen will open, with the URL inserted into the text input field. Edit the text as needed, then schedule the post.
Scheduling Text from the Current Web Page with SocialDog
You can easily schedule a post with text from any web page using SocialDog.
- Select the text you wish to post on any web page.
- Right-click and select [Post ... with SocialDog].
- The SocialDog post creation screen will open, with the selected text inserted into the text input field. Edit the text as needed, then schedule the post.